Step 1: Complete Windows Updates Immediately
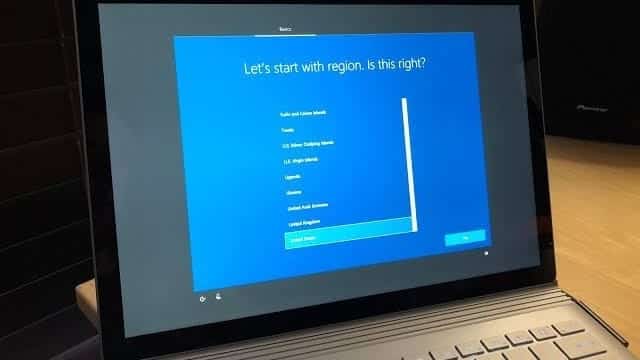
Most likely, your new computer arrived with a version of Windows 11 that was preinstalled by the manufacturer. It’s at least several months out of date by now. Once the setup wizard finishes, your first priority is running Windows updates. These updates patch vulnerabilities, fix bugs, and improve performance. The updates typically happen automatically and all you need to do is just wait until they finish – they can take as long as an hour to complete!
Step 2: Select the Best Account Setup for Your Needs
Windows 11 requires a Microsoft account for login. For users with multiple computers, logging into the same Microsoft account ensures seamless syncing of files, desktop layouts, and preferences across devices. Microsoft account is free, but to get the most out of it, you’ll likely need to pay for a Microsoft 365 subscription.
You can also choose a local account if privacy is more important than convenience, but you will still need to login with a Microsoft account and then delete it after creating a local account. If you want a free Office suite, you have several options to choose from.
Step 3: Make Decisions About OneDrive
OneDrive, Microsoft’s cloud storage solution, can streamline file management across devices. However, it’s not for everyone. If you frequently access documents from multiple devices or want to have access to your files from any computer, it’s quite handy. If you store data locally or use another cloud provider like Google Drive, disable OneDrive before migrating your files to avoid duplication.
Step 4: Configure Your Email Accounts Correctly
Email setup is essential for productivity, but improper configuration can lead to lost data or syncing issues. Microsoft 365 and IMAP accounts are generally easy to set up, offering real-time syncing across devices. Gmail is even easier – all you need is to login into your Google account.
POP accounts (such as Bigpond) store data locally, often leading to outdated or inaccessible calendars and contacts on other devices. If you’re transitioning from a POP account, consider professional help to migrate data safely.
Step 5: Remove Unnecessary Pre-Installed Software
Most new Windows computers come with trialware or pre-installed antivirus software, such as Norton or McAfee. We don’t recommend any of those, as they tend to annoy people with endless pop-ups asking you to buy more and more features.
While you are removing the preinstalled trial antivirus, you might as well remove other apps that you aren’t going to use. Avoid removing anything that has manufacturers name in it (like Lenovo Vantage, Dell Support Assist, etc), but all other stuff is most likely useless.
If you want to save money, you can use the built-in Windows Defender. If you want better protection, we recommend Emsisoft Anti-Malware. It does its job well, stays quiet, and won’t slow down your computer too much. It only costs $90 a year and we can install it for you.
Step 6: Seek Professional Help When Needed
Most of the steps described above can be a DIY project if you have enough computer experience. Some tasks are more complicated than others, like handling multiple email accounts, migrating data, or configuring OneDrive. Seeking expert assistance saves time and avoids costly mistakes, so feel free to call us for help.

